Using Dear ImGui in MonoGame
I've been having a go at writing a video game in C# recently using the MonoGame framework.
Inspired by a post by Noel Berry about making video games without an engine, I wanted to try using Dear ImGui for debugging.
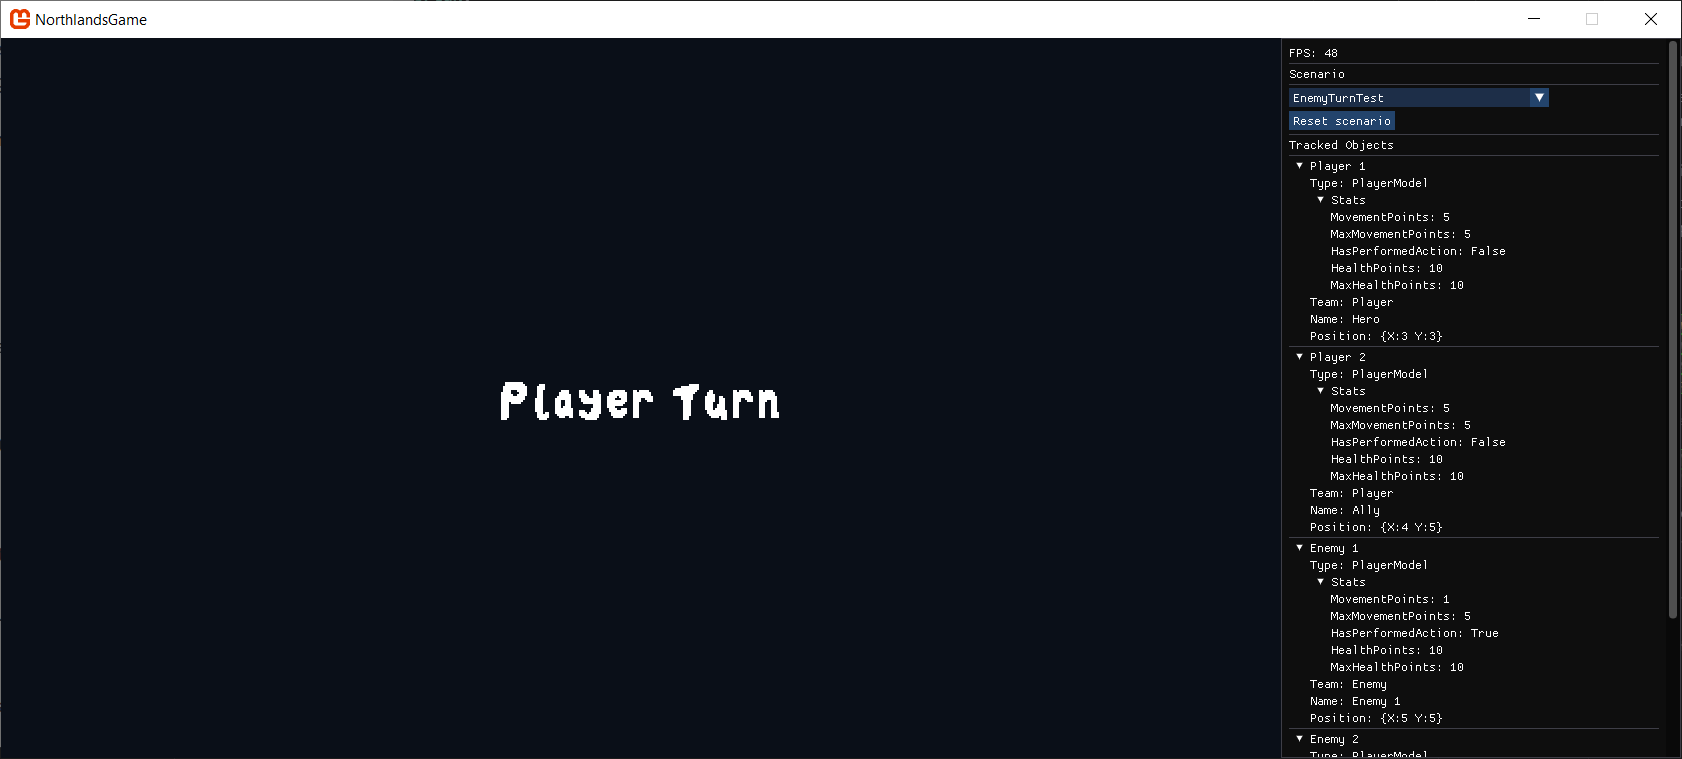
The idea is to be able to quickly display information about the state of the game, e.g. a character's stats, so that I can debug what is happening in the game.
This post will cover how I installed Dear ImGui and integrated it in my game. This is how the debugging panel that I've built looks when I'm working on the game.
What is Dear ImGui and how can we import it?
Dear ImGui is a C++ library for building user interfaces. Fortunately for us there is a C# wrapper for this library called ImGui.NET.
There is even a wrapper for the C# library which adds MonoGame specific functionality called MonoGame.ImGuiNet so let's use that.
Step 1: Add MonoGame.ImGuiNet as a git submodule
First, we need to add the MonoGame.ImGuiNet library to our project.
I tried using the NuGet package directly but it looked like it wasn't up to date. There is an issue on the project about this.
Not to worry, I'm a fan of having library code available locally anyway so I added it to my project as a git submodule.
I put my third party libraries in a directory called ThirdParty, so let's clone the library into the ThirdParty/MonoGame.ImGuiNet directory.
# create the ThirdParty directory if it doesn't exist already
mkdir ThirdParty

# clone the git repository as a submodule (assumes ssh access, you can use http instead from the GitHub repo page)
git submodule add [email protected]:tsMezotic/MonoGame.ImGuiNet.git ThirdParty/MonoGame.ImGuiNet
Step 2: Add the project to the solution and reference it
Next, we need to add the MonoGame.ImGuiNet project to your solution file and then reference it from your main game project. I do this through the .NET command line.
I'll assume in your project that the man game project code is in a self-contained directory called MainGame with a csproj file MainGame.csproj. So the project structure is:
MainGame.sln# the solution fileMainGame/MainGame.csproj# the csproj fileMainGame/MainGame.cs# the file with our implementation ofGameThirdParty/MonoGame.ImGuiNet/# our new git submodule
Run these commands with the file paths updated for your project:
-
Add the ImGui project to your solution file:
dotnet sln MainGame.sln add ThirdParty/MonoGame.ImGuiNet/MonoGame.ImGuiNet/Monogame.ImGuiNet.csproj -
Add a reference from your main game project:
dotnet add MainGame/MainGame.csproj reference ThirdParty/MonoGame.ImGuiNet/MonoGame.ImGuiNet/Monogame.ImGuiNet.csproj
Your main project should now build succesfully when you run dotnet build.
Step 3: Add Dear ImGui to your game code
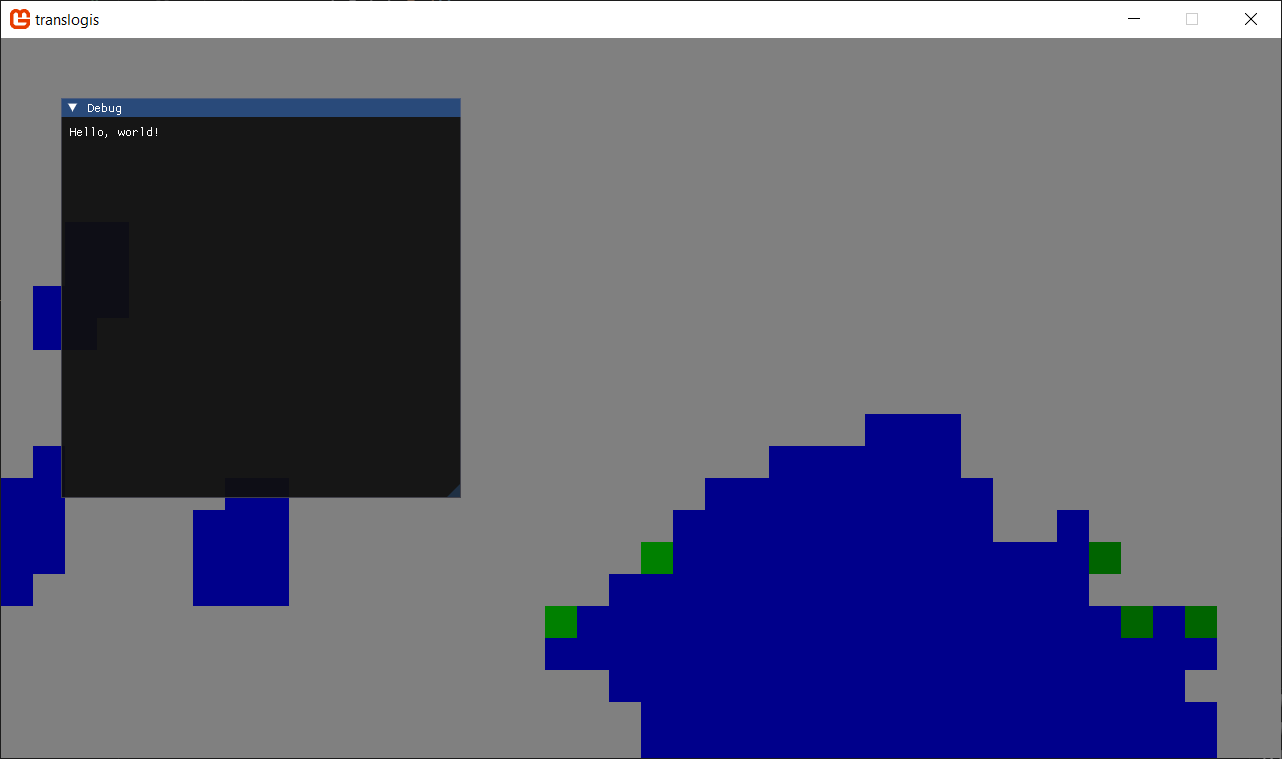
Let's add a minimal "Hello, World" window to confirm that everything is working. We'll add the code directly to our main Game class.
-
Add a
ImGuiRendererfield to your main game class:private MonoGame.ImGuiNet.ImGuiRenderer _imGuiRenderer; -
Instantiate it in the
Initializemethod, after thebase.Initialize()call:protected override void Initialize()
{
// ...
base.Initialize();
_imGuiRenderer = new MonoGame.ImGuiNet.ImGuiRenderer(this);
} -
Call
RebuildFontAtlasfrom your game'sLoadContentmethod:protected override void LoadContent()
{
// ... your other content loading ...
_imGuiRenderer.RebuildFontAtlas();
} -
Add the drawing logic to your game's
Drawmethod:protected override void Draw(GameTime gameTime)
{
GraphicsDevice.Clear(Color.CornflowerBlue);
// ... your game drawing ...
_imGuiRenderer.BeginLayout(gameTime);
ImGuiNET.ImGui.Text("Hello, world!");
_imGuiRenderer.EndLayout();
base.Draw(gameTime);
}
Run your game, and you should see a small ImGui window with the text "Hello, world!".
You add use these import statements if you don't want to fully reference the classes.
using ImGuiNET;
using MonoGame.ImGuiNet;
warning : No Content References Found
Now when you run dotnet build you will start seeing a warning from the MonoGame content builder pipeline.
warning : No Content References Found. Please make sure your .mgcb file has a build action of MonoGameContentReference
This is because the library includes a reference to the MonoGame library as part of its build so this task is automatically added.
You can either:
-
add the following config to the "Library"
PropertyGroupin theMonogame.ImGuiNet.csprojfile:<EnableMGCBItems>false</EnableMGCBItems> -
or add a
Directory.Build.targetsfile to the top of your project with the following to disable any project from adding this build step - replaceMainGamewith your project name:
<Project>
<!--
    This target runs for every project in the solution.
    It removes the MonoGame Content Builder task from all projects except the main game project.
    This prevents unnecessary warnings from submodules that don't have content to build.
-->
<ItemGroup Condition="'$(MSBuildProjectName)' != 'MainGame'">
    <PackageReference Remove="MonoGame.Content.Builder.Task" />
</ItemGroup>
</Project>
cannot decide which sln to prioritise
Now that your project structure contains two sln files you may find your IDE asking you which one to load.
Since I am using VSCode I set my top-level Game solution file by setting it in .vscode/settings.json.
{
    "dotnet.defaultSolution": "MainGame.sln"
}
Next steps
Thanks for reading, I hope this was helpful. I'll probably next write a post about how I used this to build a developer panel in my game.